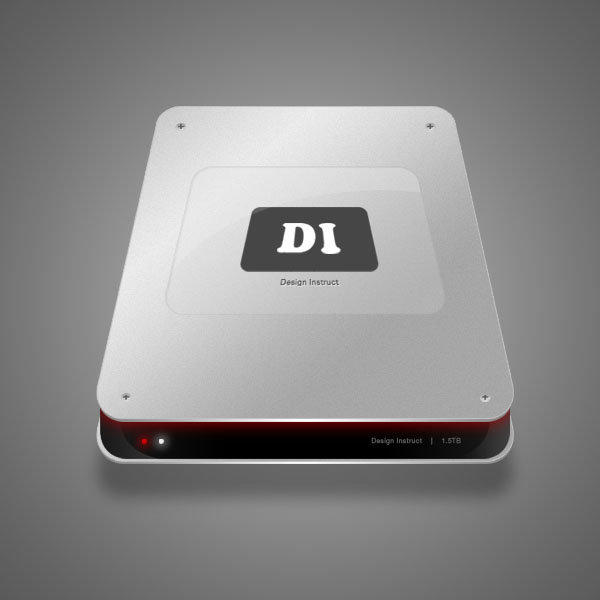
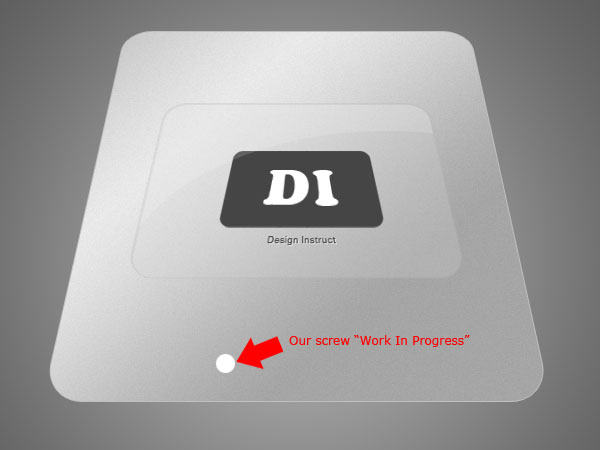
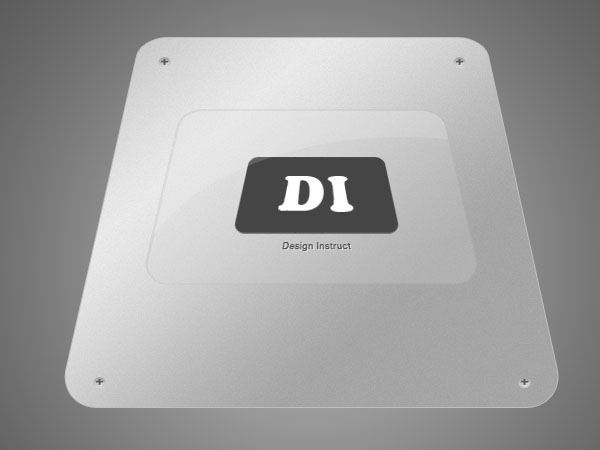
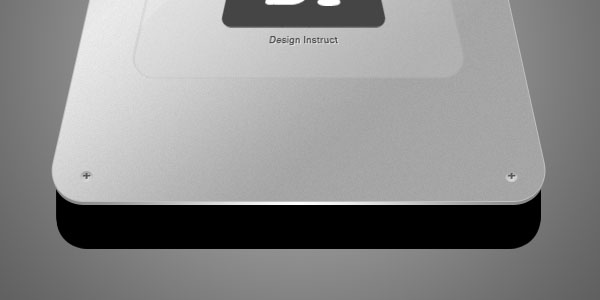
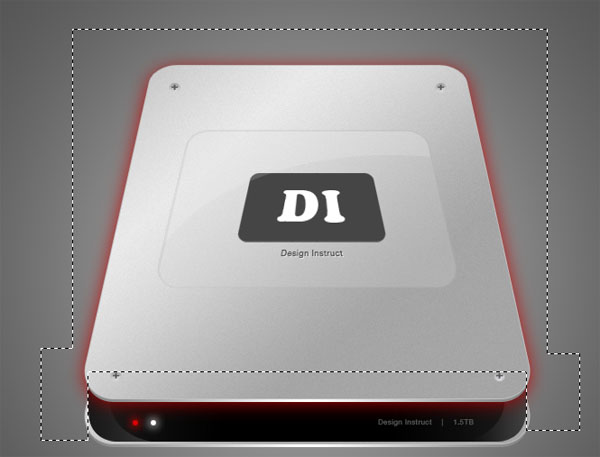
Once you have finished the tutorial, you should have something like this.
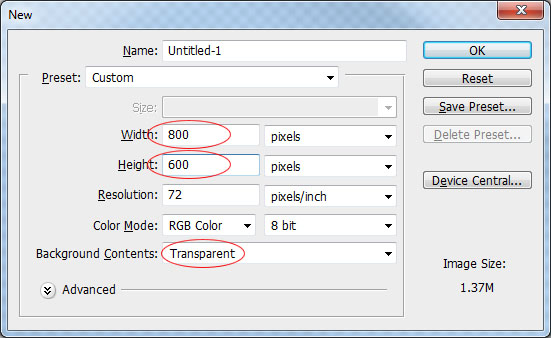
Step 1: Create a New Document
Create a new 800×600px document with the Background Contents set at Transparent.
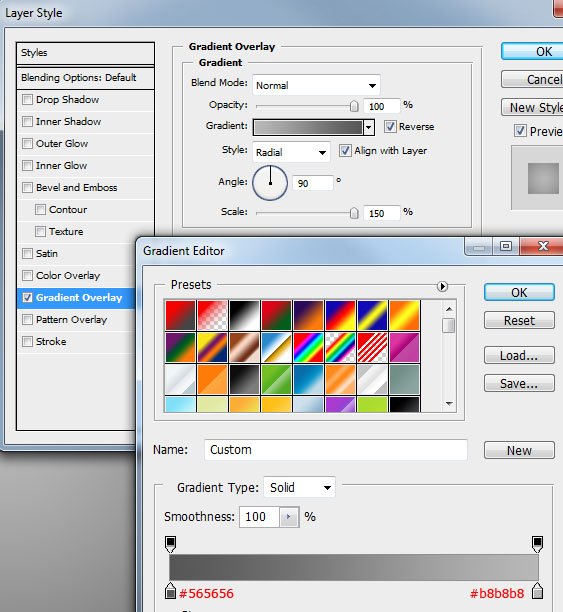
Step 2: Give the Background Layer a Color Gradient
Choose the Paint Bucket Tool (G), then fill your background with any color. This color will serve our light metallic foreground well.
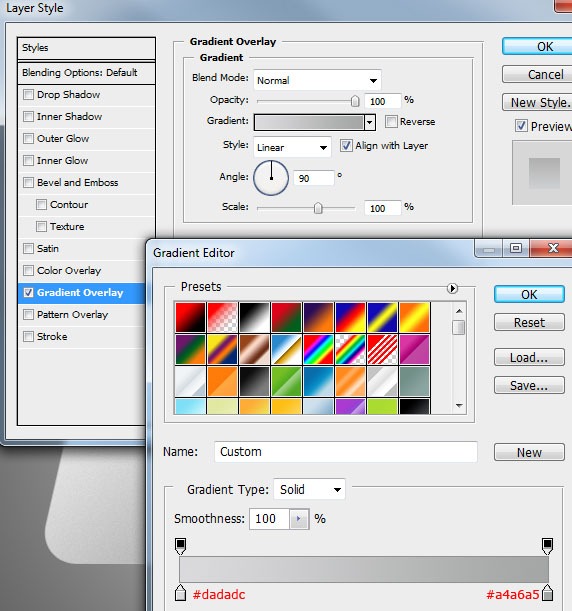
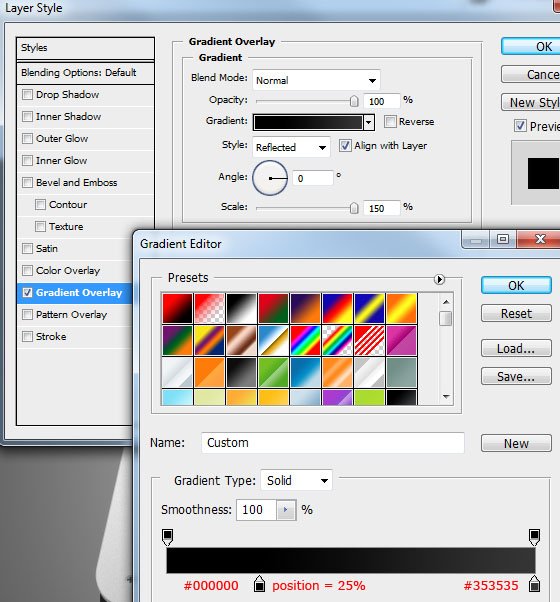
Double-click the filled layer in the Layers Panel to bring up the Layer Styles window and add a Gradient Overlay to your layer.
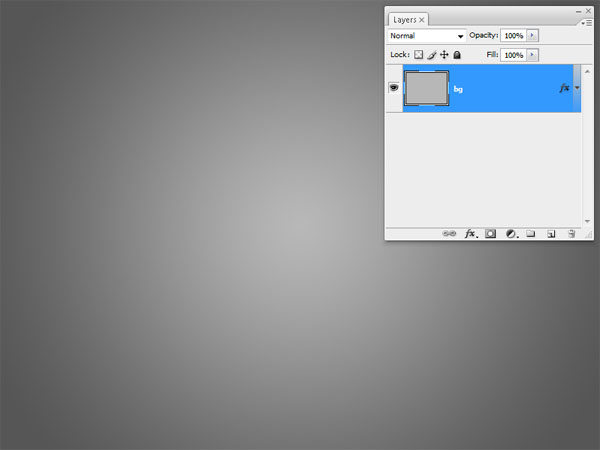
Once you’ve added your gradient overlay, rename the layer as "bg" (abbreviated form of "background") to keep our Layers Panel organized.
Step 3: Draw the Hard Drive Top
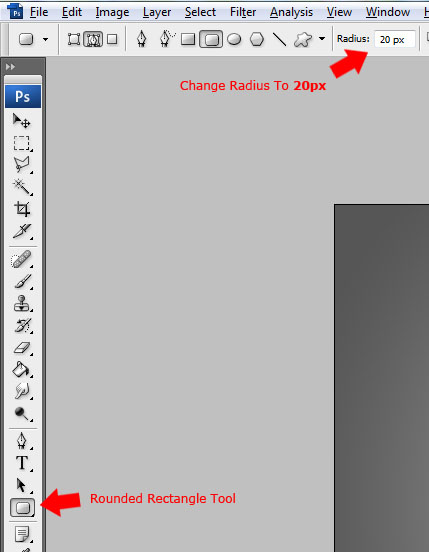
Select the Rounded Rectangle Tool (U) and set its Radius to 20px in the Options Bar.
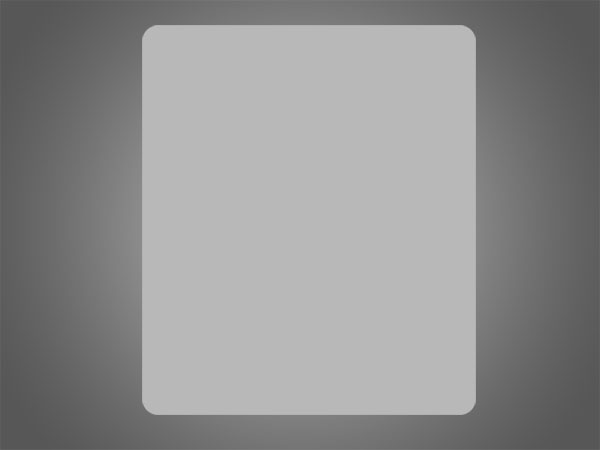
Create a new layer labeled "hd top" then drag out a rounded rectangle shape onto your canvas.
Afterwards, select the Pen Tool (P) and right-click inside the rounded rectangle shape. From the menu, select Fill Path. Right-click inside the path once more and choose Delete Path from the menu.
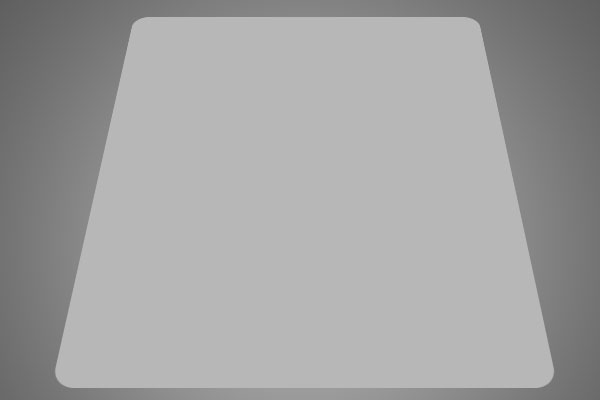
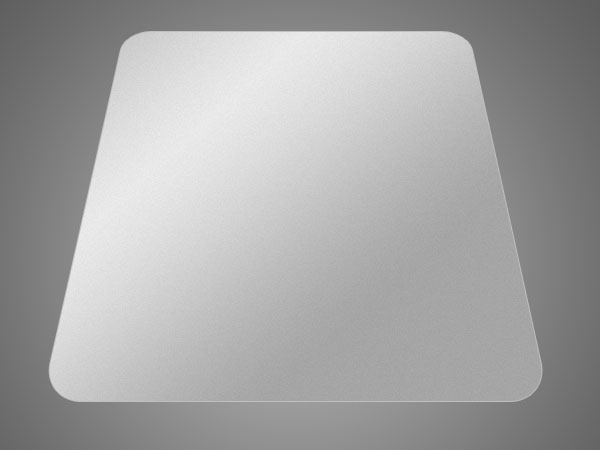
We’re now going to transform the rounded rectangle’s perspective using Skew Transform. Make sure that your "hd top" layer is selected, then go to Edit > Transform > Skew. Drag the top-left and top-right transform controls inwards. If you find the rectangle is slightly too big, then press Ctrl/Cmd + T (Free Transform command) and once you’re in Free Transform mode, drag the bottom-middle transform controls upwards until you reach your desired size.
Step 4: Convert the Hard Drive Top Layer to a Smart Object
Right-click your "hd top" layer and select Convert to Smart Object from the menu.
Inside the Layers Panel, double-click the little thumbnail on the "hd top" layer.

Once you’ve double-clicked the thumbnail, a new document should have loaded up with your hard drive rectangle on it (this is because we converted this layer into a smart object).
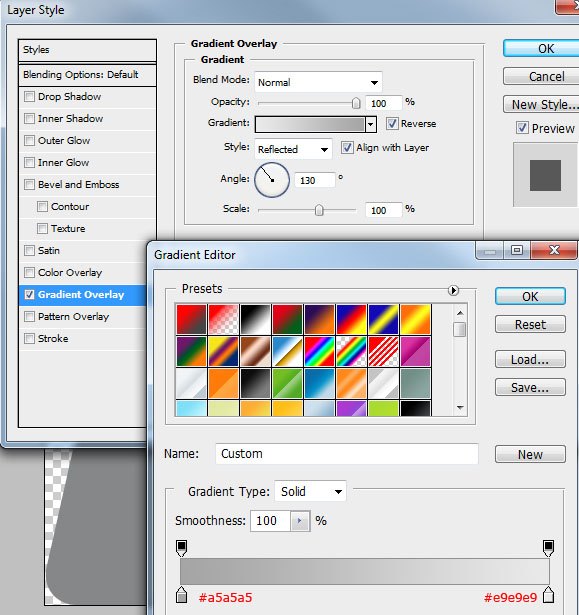
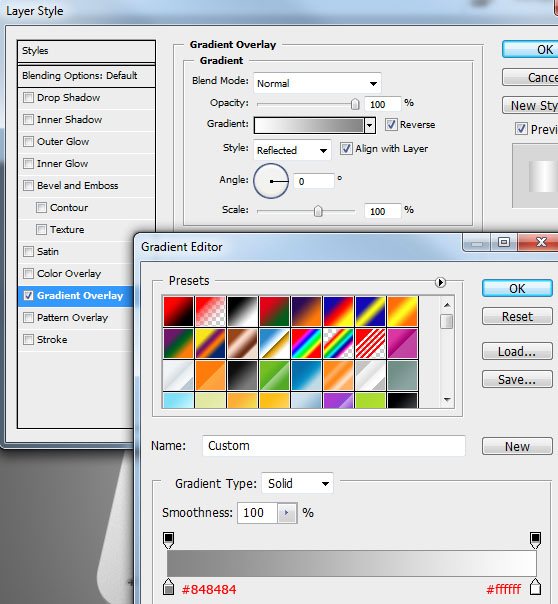
Double-click the layer’s thumbnail in the new document to open up the Layer Style dialog window, then add a Gradient Overlay and Stroke to your rounded rectangle.
Gradient Overlay
Stroke

Once you’ve added the Layer Styles, close the document, saving it when prompted to do so. You will notice on your orginal canvas that your "hd top" layer has now been transformed with the gradient overlay and stroke added.
The good thing about using smart objects is that each layer will have its own history, thereby extending your undo ability and also improving modularity and reusability of your work. Think of smart objects as a PSD file inside a PSD file with its own history.
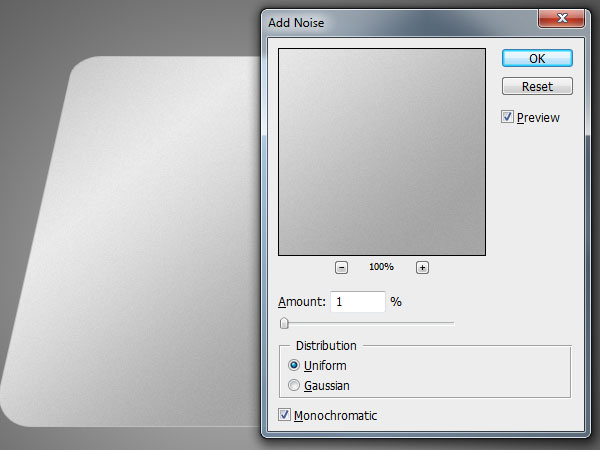
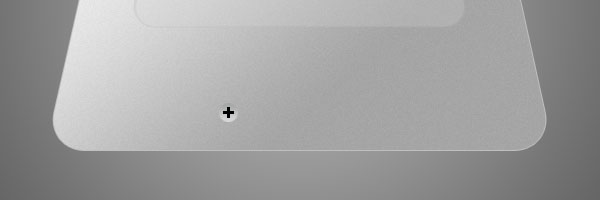
Step 5: Apply a Noise Filter to the Hard Drive Top
We are now going to add some noise to the hard drive top layer to give it a bit of a brushed metal texture, making our work just a little more interesting. Make sure your hard drive top layer is the active layer in the Layers Panel, then choose Filter > Noise > Add Noise.
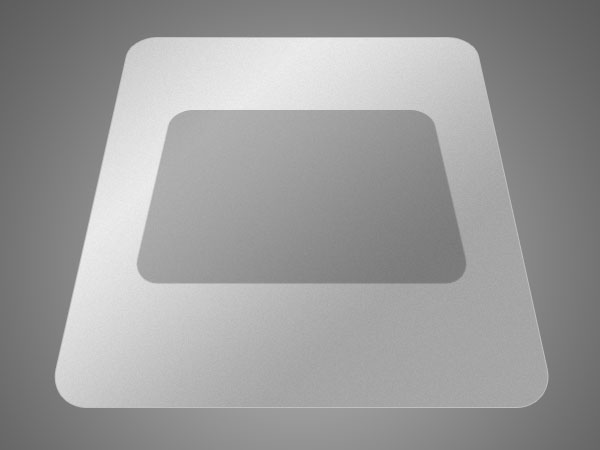
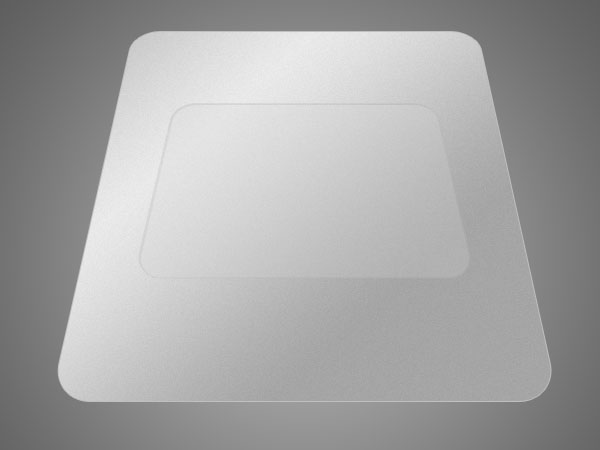
Step 6: Give the Hard Drive Top a Place to Hold the Logo
We’re going to create a small place in the middle that will house the logo of the hard drive. Create a new layer above your "hd top" layer called "logo bg", select the Rounded Rectangle Tool (U), and then drag out a small rounded rectangle in the middle of your hard drive.
Change the perspective of the rectangle to match that of the "hd top" layer using the Skew Transform command like we did for the hard drive top. Fill the rounded rectangle with any color.
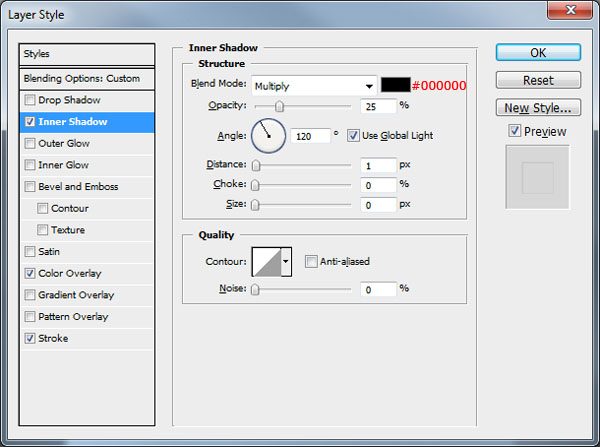
We will now give this layer 3 Layer Styles: an Inner Shadow, a Color Overlay and a Stroke.
Inner Shadow
Color Overlay
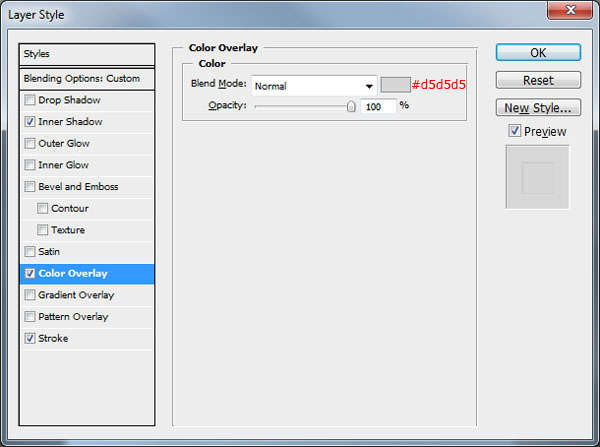
Stroke
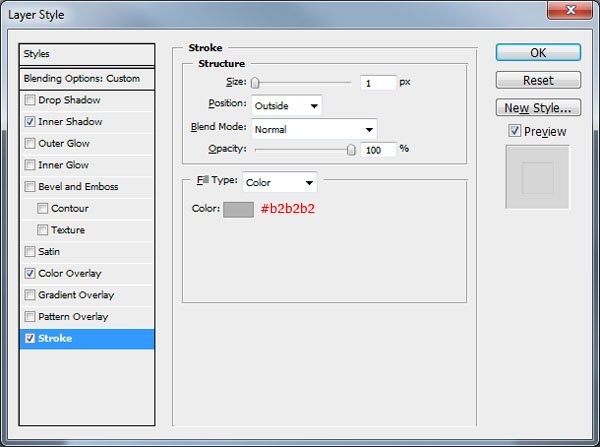
You’ll see that all these Layer Styles combined will create a look that makes the rounded rectangle seem like it is lower than the hard drive top.
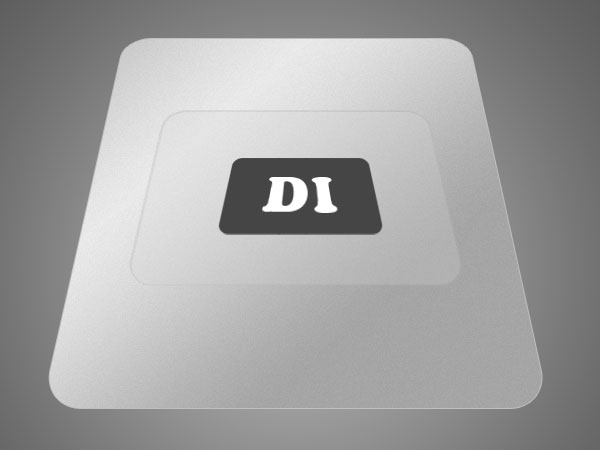
Step 7: Create the Hard Drive’s Logo
Create a new layer above your "logo bg" layer called "logo," select the Rounded Rectangle Tool (U), then create another smaller rectangle inside your "logo bg" rectangle.
Fill your rounded rectangle in with a dark gray color (#464646), then adjust the perspective to match the rest of your hard drive using the same technique we’ve discussed previously (Skew Transform command — you know the drill by now).
Inside the "logo" rectangle, use the Horizontal Text Tool (T) to add your desired logo or hard drive name. I’ve added the initials of Design Instruct, ("DI").
You will need to rasterize the text layer by right-clicking on the layer in the Layers Panel and then choosing Rasterize before you can alter the perspective with the Skew Transform command.
Step 8: Give the Hard Drive Top a Shine
Use the Pen Tool (P) to create a curvy path that goes over the "logo bg" layer’s top-left corner.
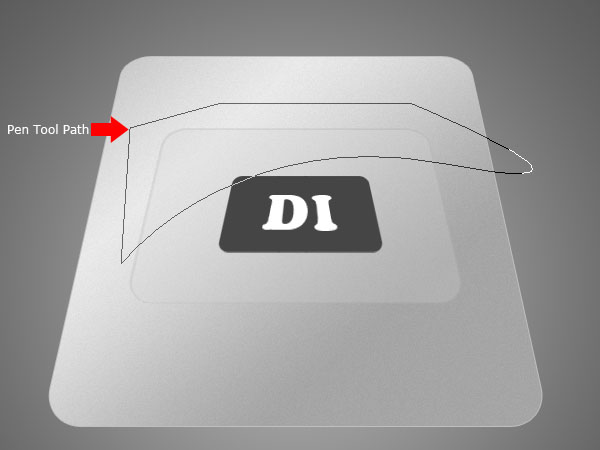
Once you’ve created the path, create a new layer called "logo shine" above all of your logo layers thus far. Fill the path with white (#ffffff) by right-clicking inside the path and then picking Fill Path from the menu that appears.
Keep your "logo shine" layer as the active layer, but load a selection around your "logo bg" layer by clicking the little thumbnail beside it in the Layers Panel whilst hold down the Ctrl/Cmd key on the keyboard.
Now go to Select > Inverse (Shift + Cmd/Ctrl + I) to invert your selection, make sure you’re still on the "logo shine" layer, then hit the Delete key to remove the excess areas of the shine that spills out.
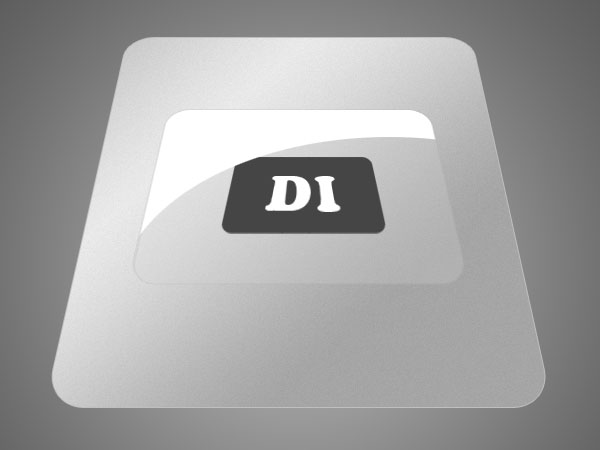
Set the "logo shine" layer’s Opacity to 15% before moving on.
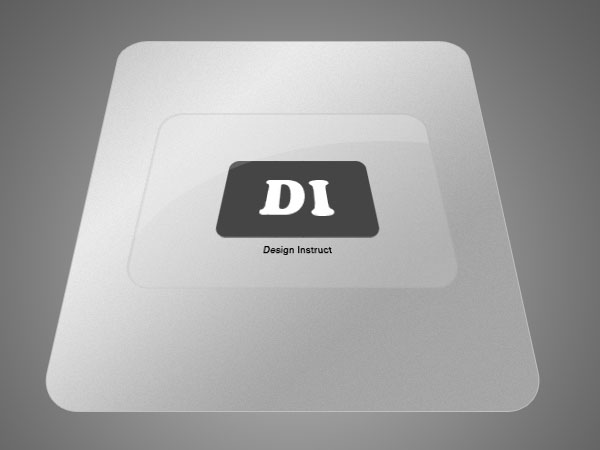
Step 9: Add Some Text Beneath the Logo
Also, as a nice touch, add the words "Design Instruct" (or the name of your hard drive) underneath the logo by using the Horizontal Type Tool (T) — you’ll need to rasterize this text layer and adjust the perspective with Skew Transform to match that of everything else.
Now give the "Design Instruct" text layer a Drop Shadow and Color Overlay to match our design.
Drop Shadow
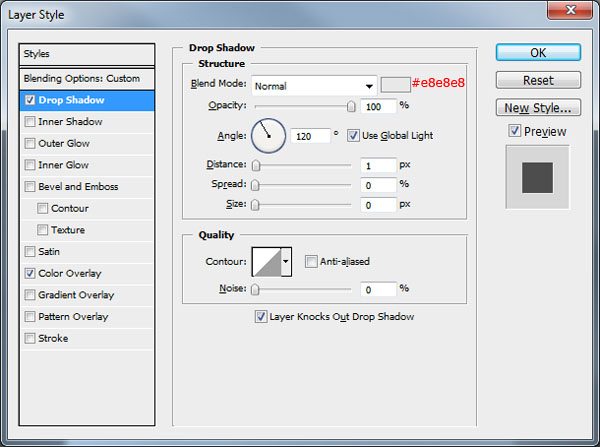
Color Overlay

These two layer styles give the impression that the text is stamped into the surface.
Step 10: Create Some Screws
To make our design more interesting, we will make 4 screws that will bolt down the hard drive’s top to its body (a body which we have yet to create).
Select the Elliptical Marquee Tool (M), then create a small ellipse anywhere on the canvas (the color doesn’t matter because we will use Layer Styles to give it color).
Add a Gradient Overlay to your screw shape layer that will give it a metallic gradient.
Using either the Rectangular Marquee Tool (M) or the Pencil Tool (B), add a little cross at the center of the screw.
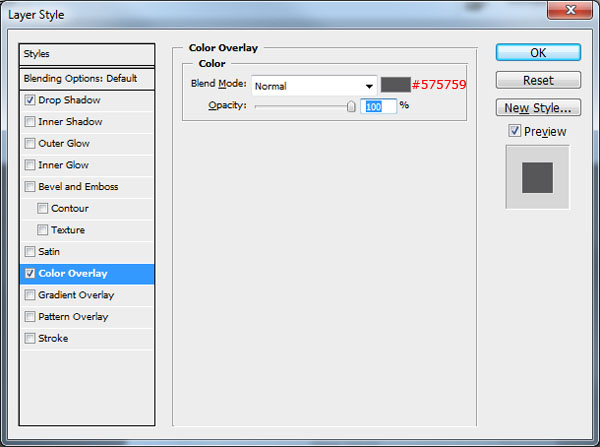
Give the cross a Drop Shadow layer style and a Color Overlay layer style.
Drop Shadow
Color Overlay
The screw should now look like this.
Select all the layers that pertain to your screw, then choose Edit > Transform > Skew to adjust the perspective of the screw to match our design.
Once you’ve adjusted the perspective, duplicate your screw 3 times and then move the screws on the corners of your hard drive.
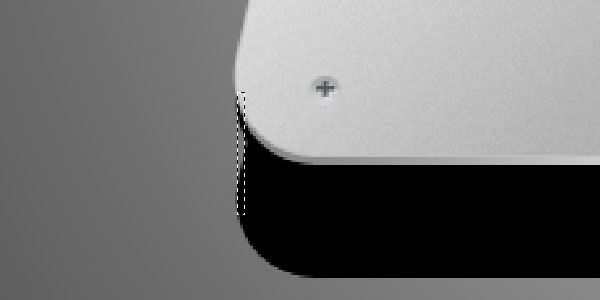
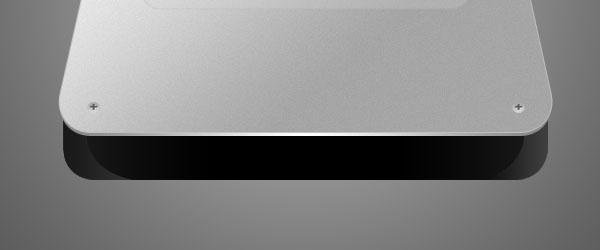
Step 11: Give the Hard Drive Top an Edge
Duplicate your "hd top" layer by right-clicking on the layer in the Layers Panel and then choosing Duplicate Layer. Drag the duplicated layer underneath the original layer and rename the duplicated layer "hd top 2."
Right-click "hd top 2" and pick Rasterize Layer.
Move the layer down 4 times or so using the Move Tool (V) and your Down Arrow key (for precision).
Next, add a Gradient Overlay to give the layer a metallic look.

Step 12: Create The Hard Drive Body
Duplicate (Ctrl/Cmd + J) the "hd top" layer again, then rasterize it by right-clicking on the layer in the Layers Panel and choosing Rasterize Layer.
Rename the duplicated layer to "hd middle" then double-click the layer’s thumbnail to access the Layer Styles dialog window. Remove any Layer Styles that it inherited from the original layer, then add a Color Overlay to change the color to black (#000000).
Choose the Move Tool (V), hold down the Shift key, then use the Down Arrow key to move the shape down.
Duplicate (Ctrl/Cmd + J) the "hd middle" layer, then move the duplicated layer down to however thick you want the hard drive to be.

Select the Rectangular Marquee Tool (M) and make a selection from the top and bottom of the "hd middle" layers to join them. Fill this selection with black (#000000). Do this for both sides of the hard drive.
Select all your "hd middle" layers in the Layers Panel and merge them into one layer by Ctrl/Cmd + E.
Press Ctrl/Cmd + T to activate the Free Transform command, hold down Shift to keep the proportion, and then drag one of the corner transform controls to make the the middle of the hard drive just a tad bit smaller.
To give the body consistent lighting and to make it look like a plastic surface, give it a dark gray/black Gradient Overlay.
Step 13: Give the Hard Drive Body a Shine
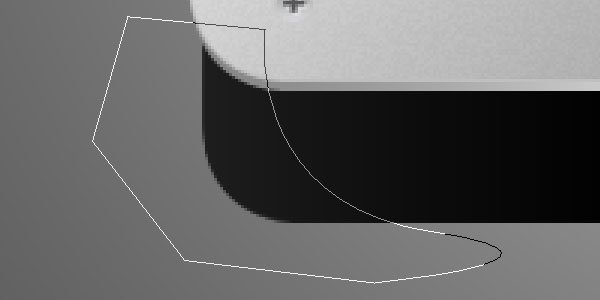
We want to make the body appear glossy. We already gave it a subtle Gradient Overlay, but it’s begging for more details to make it a tiny bit more realistic. Create a new layer labeled as "left shine" on top of the hard drive body’s layer, then pull out the Pen Tool (P). Create a path towards the left side of the body with the Pen Tool, making sure the part of the path that intersects with the body of the hard drive has a nice curve to it.
Right-click inside the path in the canvas and choose Fill Path. Fill the path with white (#ffffff).
Load a selection around the "hd middle" layer, but keep the shine layer active in the Layers Panel. Invert the selection by going to Select > Inverse (Shift + Ctrl/Cmd + I). Once the selection has been inverted, hit Delete to remove the excess white area outside of the hard drive’s body.
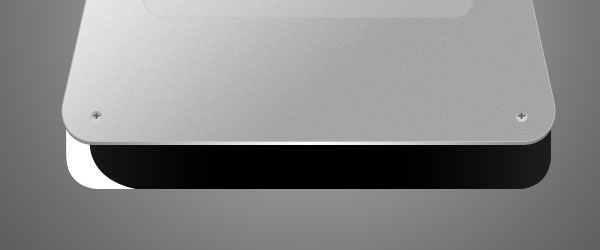
Set the shine layer’s Opacity to 15% and add a Gradient Overlay to give it the effect we want.

To create the shine for the other side, duplicate the shine layer (Ctrl/Cmd + J), flip it horizontally (Edit > Transform > Flip Horizontal) and then place the duplicated shine on the other side with the Move Tool (V).
Step 14: Create the LED Lights
Using the Elliptical Marquee Tool (M), create two small circles that will become our hard drive LED lights.
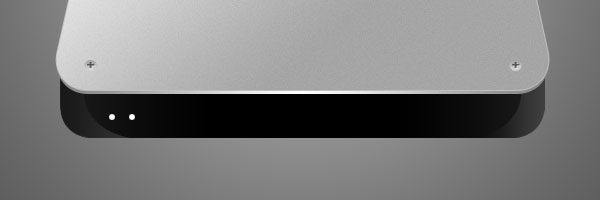
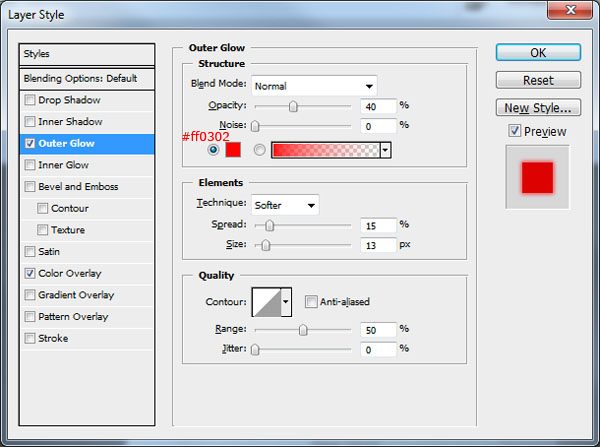
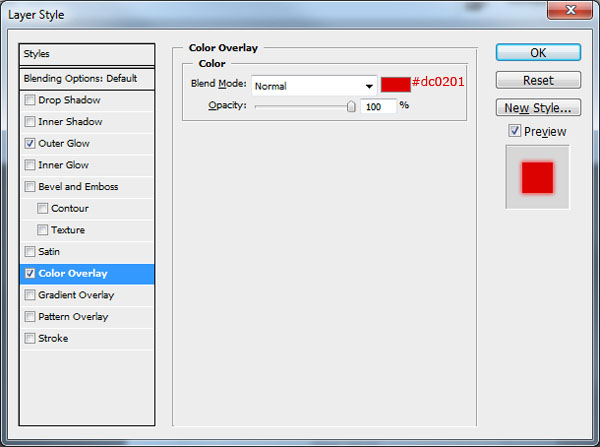
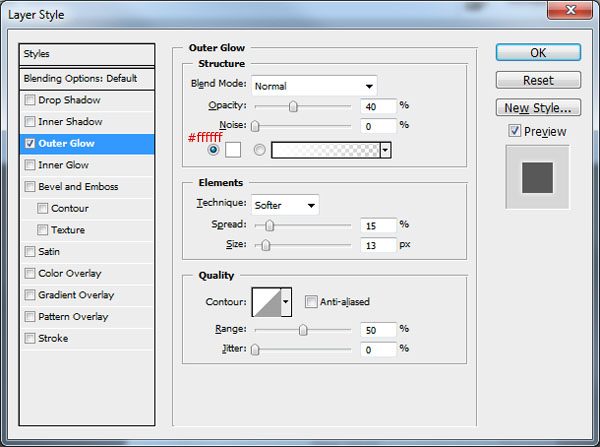
Give the circle furthest from the left an Outer Glow and Color Overlay to make it look like it is blinking.
Outer Glow
Color Overlay
To the other circle, just give it a white Outer Glow (again, to make it look like it’s blinking).
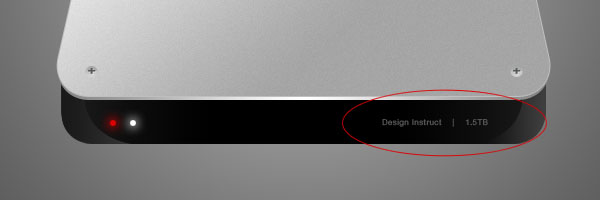
Step 15: Add Some Text for Detail
To enhance the face of our hard drive, we can add some gray text on the right side with the help of the Horizontal Type Tool (T).
Step 16: Make the Hard Drive’s Bottom Casing
Select your "hd top" and "hd top 2" layers and duplicate both of them. Drag the two duplicated layers underneath your "hd middle" layer, then move the the two rectangles down just past the middle of the hard drive to create the illusion of a bottom casing. Rename your two duplicate layers "hd bottom" and "hd bottom 2" to keep our work consistent and organized.

Step 17: Create a Drop shadow
We can give our hard drive some depth and enhancement by letting it cast a shadow. Duplicate your "hd bottom" layer from the previous step and rasterize the duplicated layer by right-clicking it in the Layers Panel and picking Rasterize Layer from the menu that appears.
Open up the Layer Styles window to give the layer a black (#000000) Color Overlay.
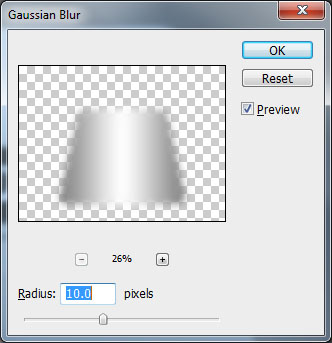
We’re now going to blur the layer by choosing Filter > Blur > Gaussian Blur; set the Radius to around 10px.
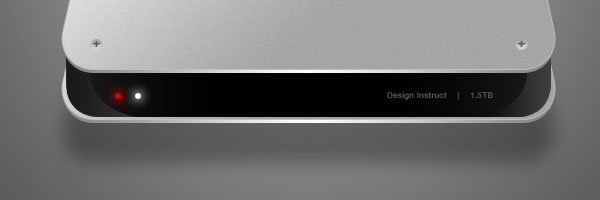
Use the Move Tool (V) to place the shadow below the hard drive until you’re happy with the look. Finally, set the shadow layer’s Opacity to around 32% to reduce its prominence.
Step 18: Give the Hard Drive a Red Glow
At this point, you can stop and you’ll have a nice-looking graphic. But if you want to give your work an added detail (maybe because you have all the time in the world), we can give it a red glow.
Duplicate the "hd top 2" layer, then rename the duplicated layer "red glow." Drag the duplicated layer in between the "hd top 2" layer and the "hd middle" layer.
Right-click the "red glow" layer and select Clear Layer Styles from the menu to remove any styles it inherited from the original layer.
Add a red (#c00000) Color Overlay layer style. Use the Guassian Blur filter (Filter > Blur > Guassian Blur) to blur the shape.

With either the Polygonal Lasso Tool (L) or the Rectangular Marquee Tool (M), make a selection around the red glow, leaving out any part of the glow that resides in the body of the hard drive.
Once you’ve made the selection, just hit the Delete key.
As you can see, this effect gives our work a bit more depth and detail.
Tutorial Summary
That’s it. All done. You have completed the tutorial — give yourself a pat on the back! Just to recap: We created an external hard drive using simple techniques that utilize some of Photoshop’s most fundamental features. We used the Rounded Rectangle Tool and Ellipse Tool to draw the shapes. We used Free Transform commands to modify these shapes, including Skew Transform to create the angles we want. We used various layer styles to give the individual elements their colors and shapes. Who knew something that looks so complex can be done with nothing but our creativity and Photoshop?
Download Source Files
- aluminum_hard_drive (ZIP, 1.90 MB)


ليست هناك تعليقات:
إرسال تعليق